
-
-
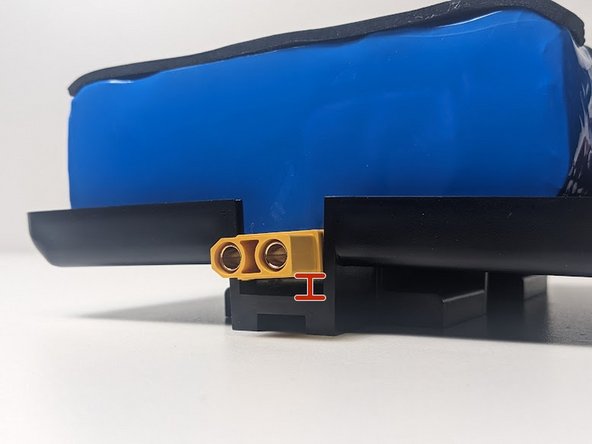
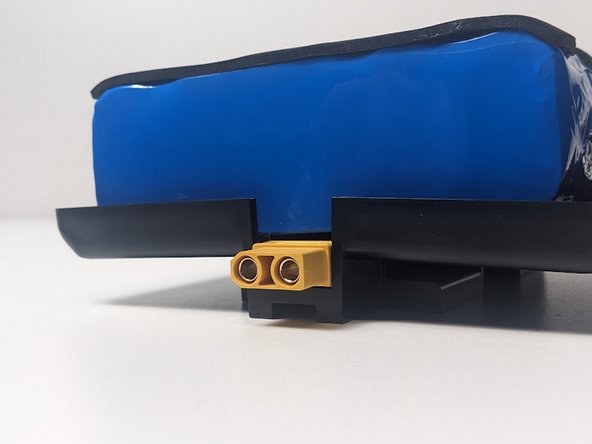
Gather and unwrap the battery materials as shown as well as scissors and a screwdriver
-
Cut two strips of electrical tape to secure loose wires
-
The reason for this is to ensure no wires get pinched when assembling the battery casing.
-
The large red and black wires do not need to be taped down
-
-
-
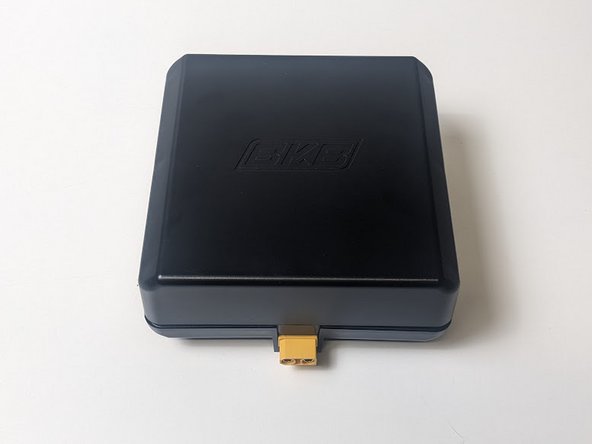
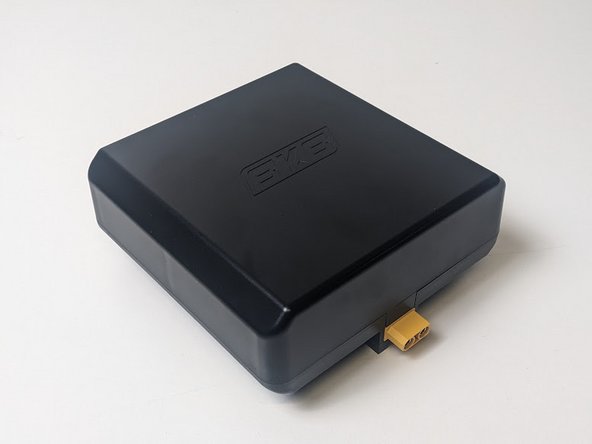
Place the casing cover over the battery
-
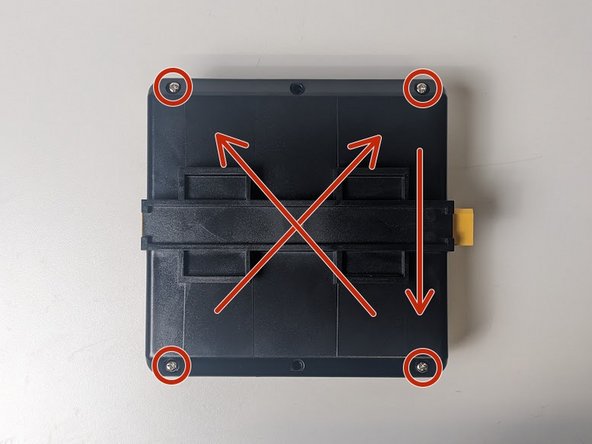
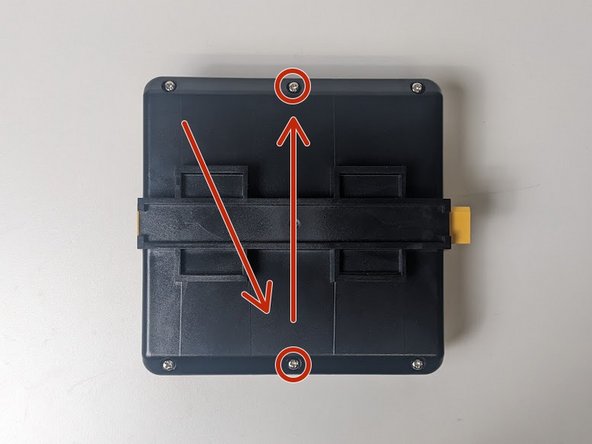
Place four screws from the bottom of the case and tighten halfway in the order shown
-
Don't tighten the screws fully yet, this will be done after all screws are in
-
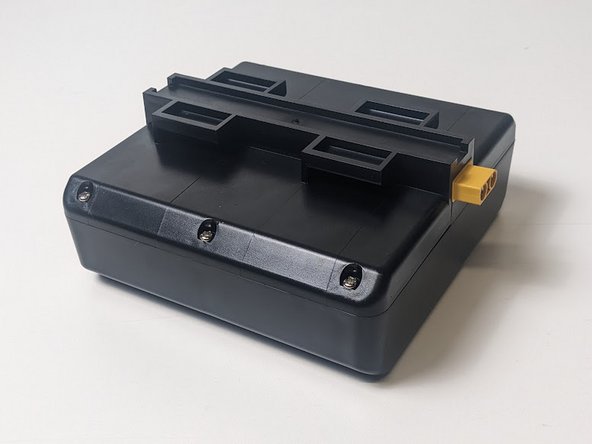
Add the remaining two screws and tighten halfway
-
Use caution to ensure no wires get caught in between the case
-


Cancel: I did not complete this guide.
One other person completed this guide.
