
-
-
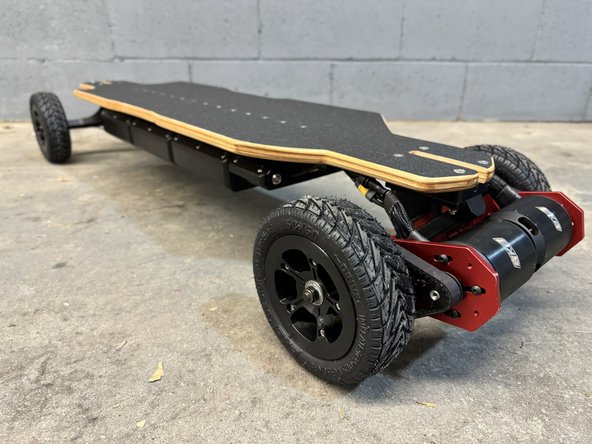
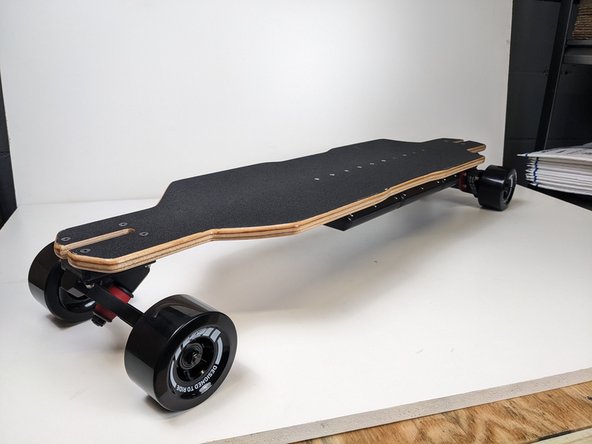
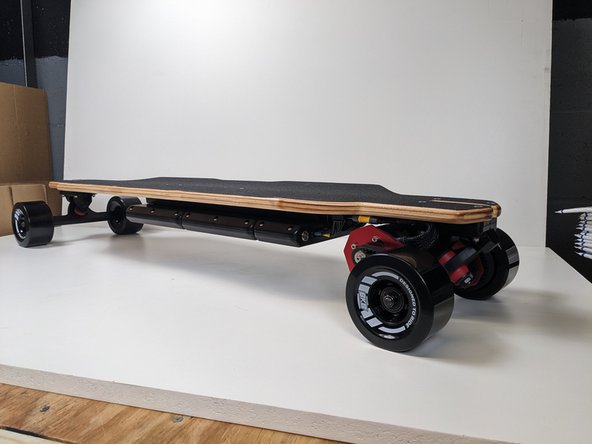
All 3.0/RailCore models have the same assembly process, the only difference is the deck. Single-motor/Campus boards simply install one motor assembly instead of two.
-
Gather the wheels, bearings, T Tool, and one truck hanger
-
Use the T tool to remove the locknut and washers from one side of the truck and set them aside.
-
If you are using All-Terrain Wheels, Skip these steps. Assemble your All-Terrain wheels using the tutorial, located here.
-
-
-
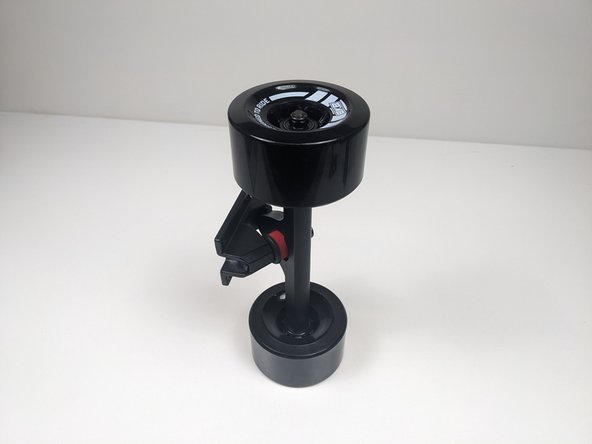
Take a bearing and slide it onto the axle with the black cover facing inwards.
-
Push a wheel onto the bearing and truck to install the bearing into the wheel.
-
Place one bearing onto the truck with the black-covered side towards the truck. Then add a silver spacer onto the truck
-
Push the opposite side of the wheel onto the bearing and truck to install it
-
If a bearing is difficult to insert by hand, consider using a rubber mallet to tap on the other end of the truck to push the bearing in place.
-
Note that the truck is being used as a tool here to put the bearings into the wheels. This is only temporary until the wheels are attached in a permanent way to the trucks.
-
The “black outside” of the bearing will keep dust and dirt out of the wheels, so it is important that each bearing is facing out to protect the bearings inside. If this is not done, your bearings will wear out prematurely.
-
-
-
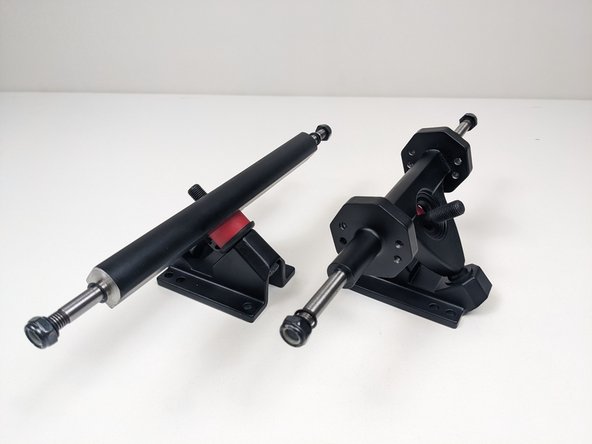
Your 6384 Motors and Extended trucks require a different assembly process.
-
-
-
-
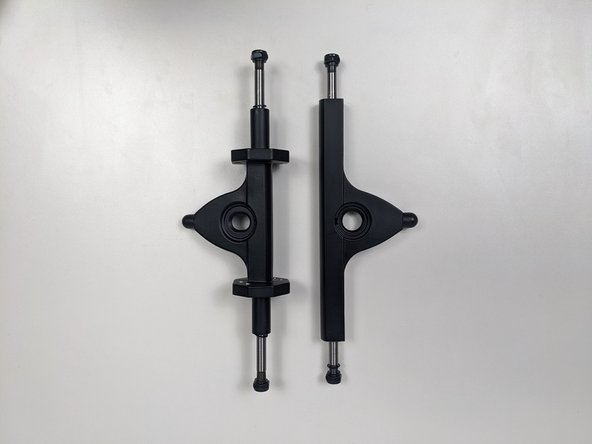
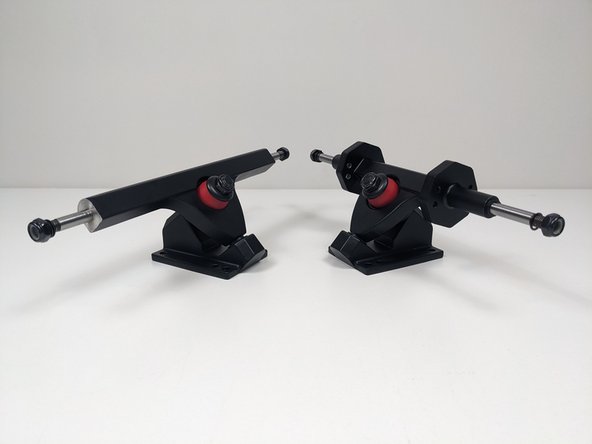
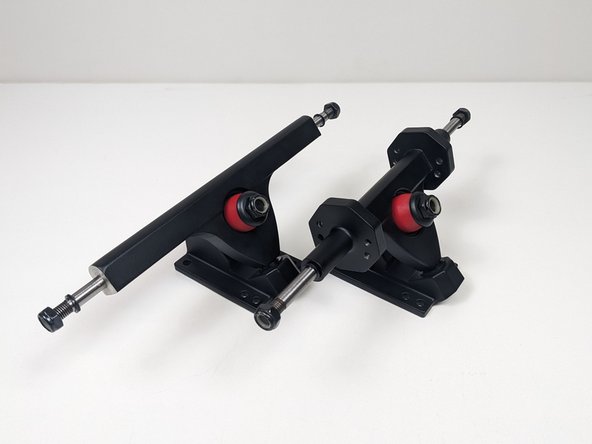
Later on in the tutorial you will need to know the difference between the front and rear truck.
-
The rear truck has the motor mount plate mount, the front is shaped like a standard Caliber II Truck.
-
IMPORTANT NOTE: If you have the TorqueMonster upgrade/Extended trucks, both front and back hangers are the same lengths. Please use the torque monster upgrade tutorial for your drivetrain assembly.
-
-
-
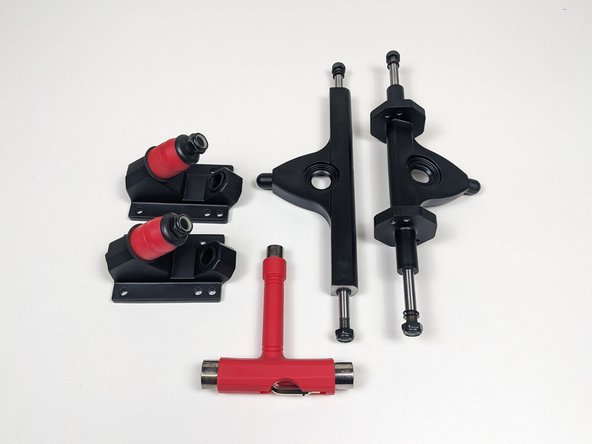
Gather the truck baseplates, truck hangers, and T-Tool
-
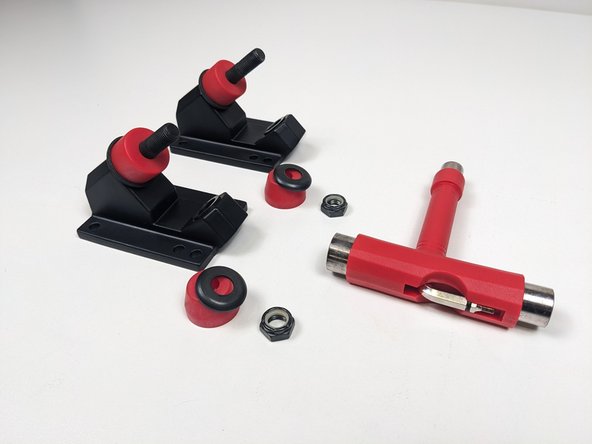
Remove the locknut from each baseplate
-
Remove one bushing and washer from each baseplate
-
Place a truck hanger in the baseplate
-
-
-
Place the bushing and washer back on and tighten the locknut
-
The rear hanger is uni-directional and must be attached with the holes as in the picture
-
If your having trouble getting the locknut to start threading, make sure the hanger is pushed all the way into the base of the baseplate (where the hanger comes to a rounded point). You can also apply pressure down on the truck to compress the bushing
-
Repeat this process to complete two trucks
-
-
-
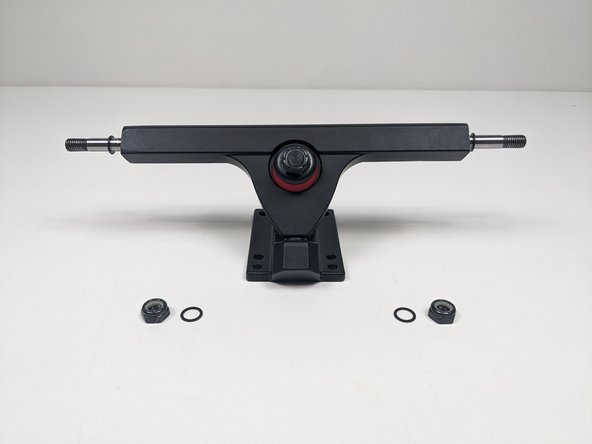
Gather the front truck, two wheels, and T-Tool
-
Remove one locknut and one washer from each side of the truck. Make sure there is still one washer on the truck
-
TorqueMonster/Extended Trucks require a silver spacer between the wheel and hanger for proper fitment.
-
Place one wheel on each side with the letters facing outward.
-
If you're having issues with mounting the wheels, make sure the silver spacer in the wheel is alligned.
-
Add the washer and locknut back onto the truck. From inside to outside the components should be arranged: washer, wheel, washer, locknut
-
Repeat on the other side to secure both wheels
-
-
-
It is very important not to over-tighten the locknuts. It will create much more rolling resistance
-
Tighten the lock nuts until they touch the bearing. Then loosen the lock nuts ~ half a turn. You should be able to very lightly move the wheel laterally on the axle. If there is no movement it is too tight, and if the wheel can slide the lock nuts are too loose
-
-
-
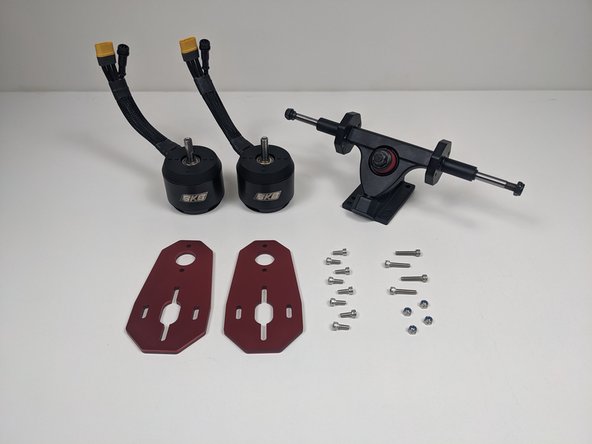
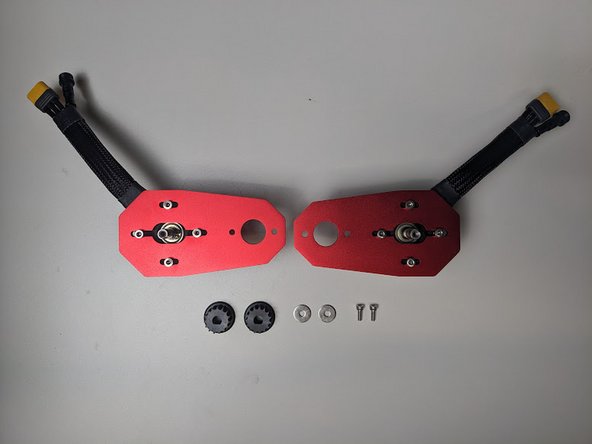
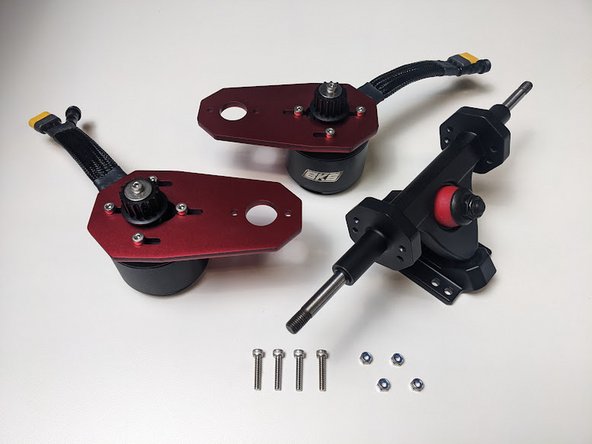
Gather your allen wrench, motors, motor mount plates, Loctite, motor hardware, and rear truck.
-
The motor hardware is labeled "BBB" on the plastic bag for easy identification.
-
To open the loctite, remove the cap, and break or cut off the stem about halfway.
-
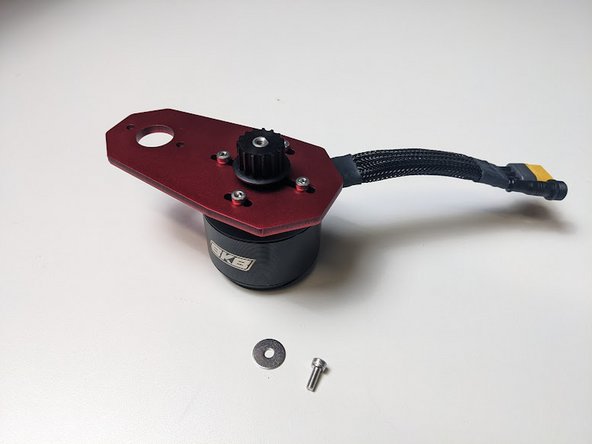
Place the mounting plate on top of the motor with the wires oriented as shown.
-
Add a drop of loctite to each motor screw before installing
-
Install 4 motor screws to attach the motor to the motor mount.
-
Pro Tip: Don't fully tighten the motor screws, as we'll be adjusting the placement for the belt tightness.
-
-
-
Gather the motor pulleys, remaining motor hardware, allen wrench, Loctite, and assembled motor mount assembly.
-
There are two ways to mount your motor pulley, either with the set-screw or our bolt and washer method.
-
Add Loctite to any bolts or set-screws tightened.
-
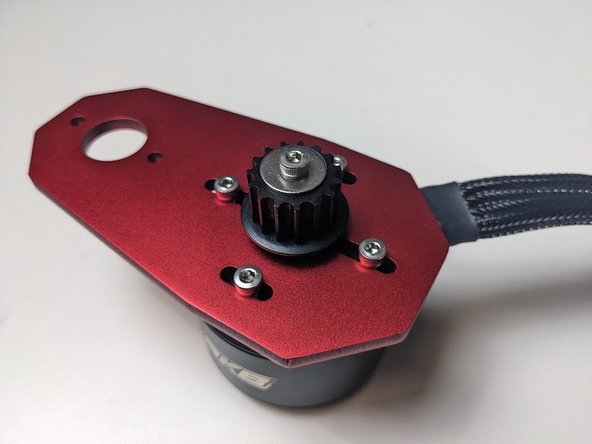
Washer Method: Simply slide your motor pulley onto the motor shaft. Once the pulley and the shaft end are flush, add the motor washer and short bolt.
-
Set Screw Method: Remove/loosen the pulleys set screw and slide the pulley onto the motor shaft. Tighten the set screw into the pulley once the shaft and pulley are flush. (If you turn the set screw in too much to the point it is visible in the center of the shaft hole, it will not slide onto the motor)
-
-
-
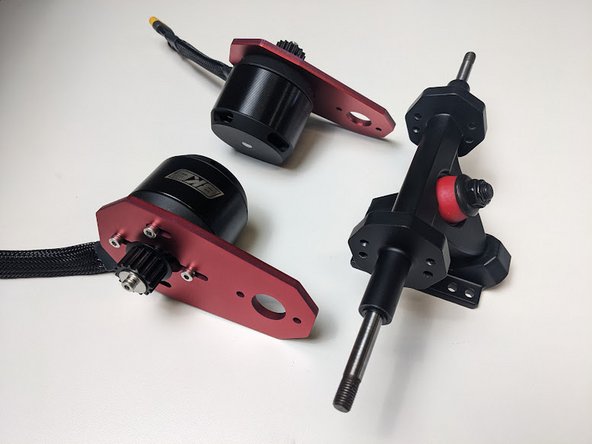
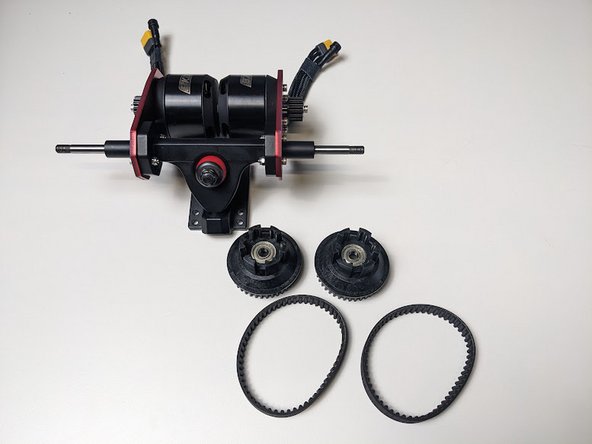
Gather your motor assemblies, rear truck, remaining hardware, and tools.
-
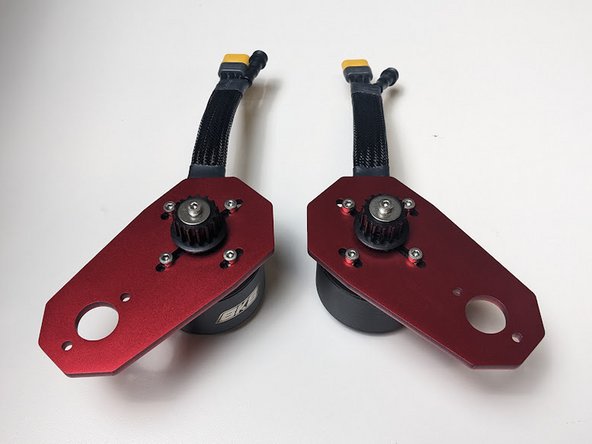
With these rear trucks, there are different orientations for the motor mounts.
-
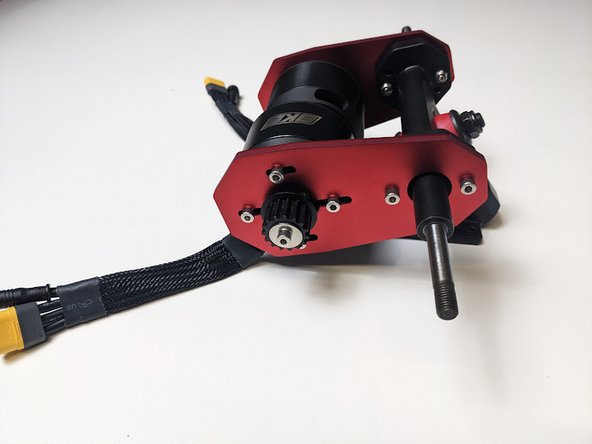
Line up the motor mounts so that the mounting plates are pointing the same direction of the king-pin. Make sure the motor cables are routed towards the truck baseplates!
-
-
-
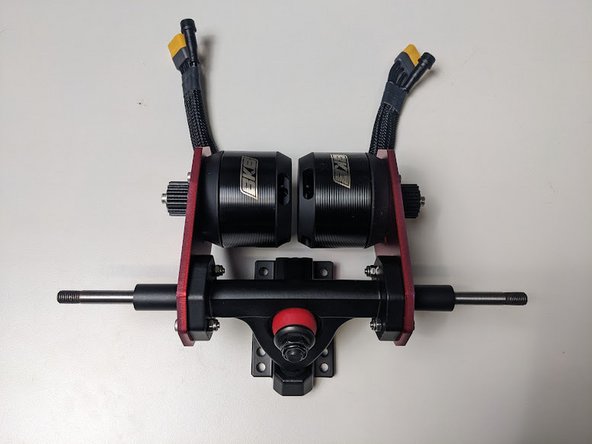
Once you have the motor mounts properly aligned, use your remaining long motor hardware and locknut to secure and mount.
-
Loctite is not necessary for bolts utilizing locknuts!
-
Repeat the same process on the other motor mount.
-
-
-
With your rear-truck, gather your wheel pulleys, belts, and skate tool.
-
Use the T Tool to remove the locknut and 1x washer from the truck
-
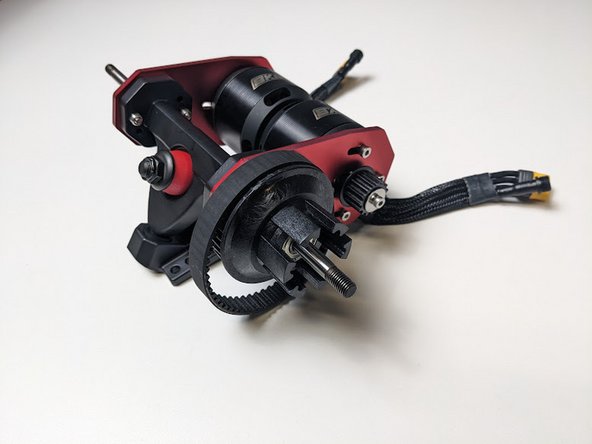
Slide the wheel pulley and belt onto the truck
-
Place the belt over the motor pulley. You will need to slide the motor all the way forward and the four bolts securing the motor will need to be loose to accomplish this
-
-
-
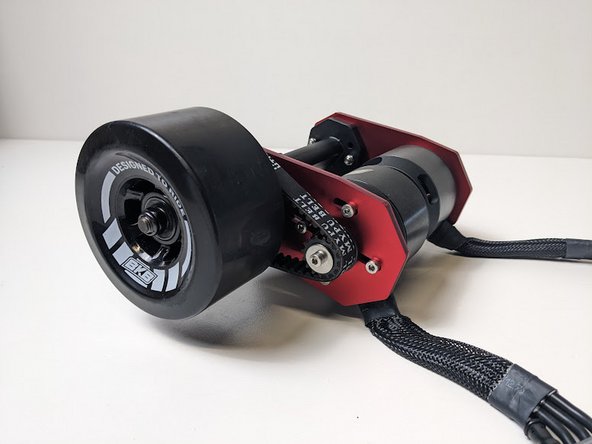
Slide the wheel onto the truck with the words facing outwards
-
Add the washer and locknut back onto the truck. Tighten with the T Tool
-
Do NOT over tighten the locknut. You should be able to move the wheel laterally on the axle back and forth ever so slightly
-
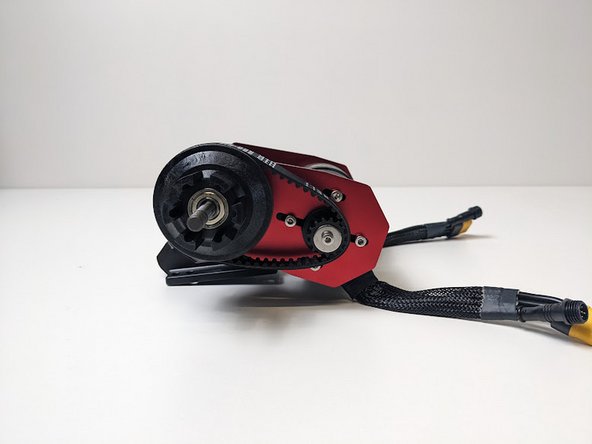
Now it is time to tension the belt. Pull back on the motor until the there is decent tension in the belt
-
While holding tension in the belt tighten one bolt
-
You can now test the tension by pressing down in the area located at the green area. The belt should move up and down 2-3mm with your press.
-
-
-
If it is too stiff and does not move, there is too much tension in the belt. Loosen the bolt and try again
-
If the belt depresses more than 4mm, there is not enough tension. Loosen the bolt and apply more tension.
-
When the proper tension has been achieved, remove both wheels and tighten all four bolts to lock the motor in position
-
Repeat steps 15-17 to complete assembly of the other side of the drivetrain. Ensure proper belt tension on both sides.
-
-
-
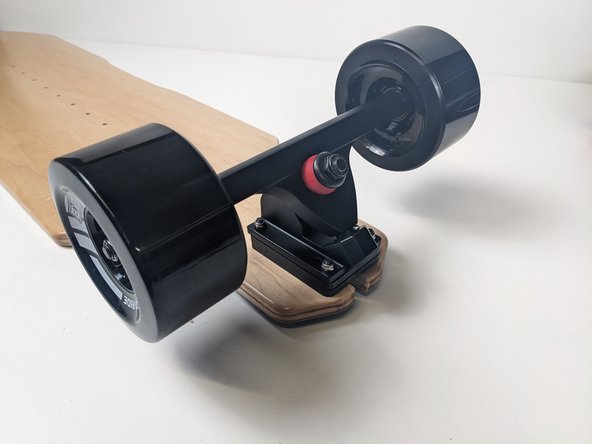
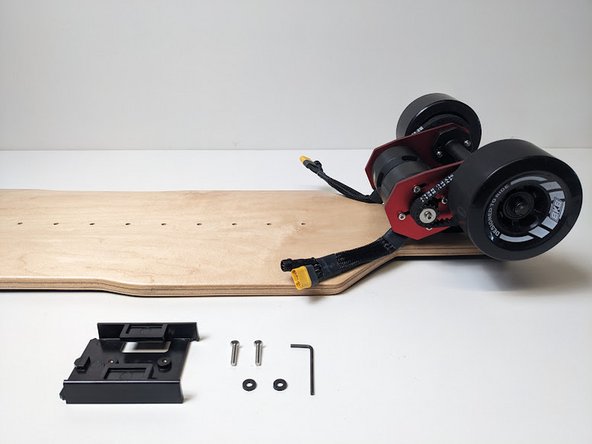
Gather the drivetrain, front truck, risers, truck hardware, wrench, allen wrench, and deck.
-
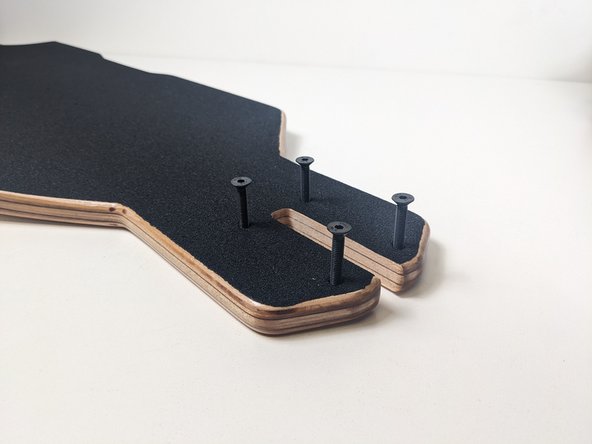
Remove any plastic and place the truck bolts through the mounting holes, press the bolts through the front of the deck.
-
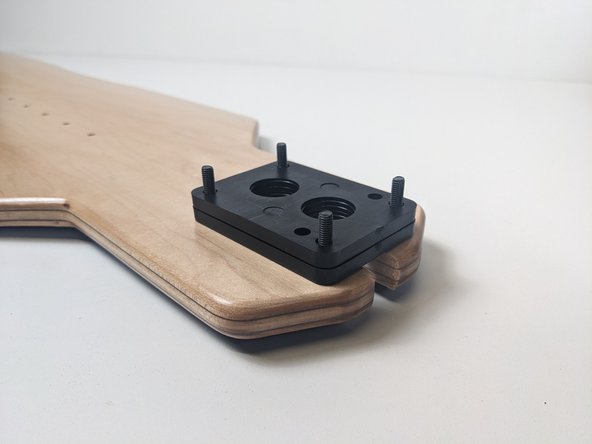
Add your riser's to the underside of the deck over the bolts.
-
Unlike our old models, these decks don't have a front or back! Either side should work great.
-
-
-
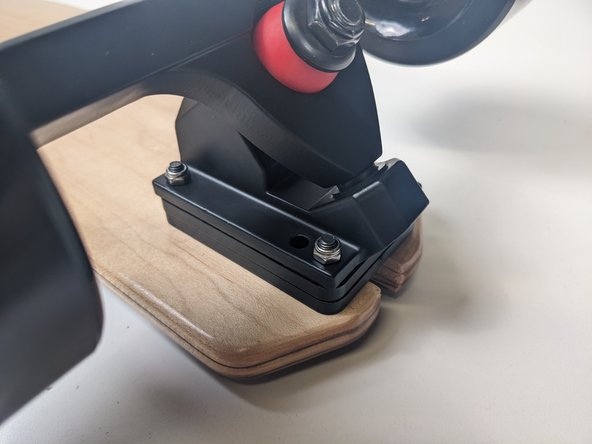
Slide the front truck over the bolts and then secure it by installing a locknut on each bolt
-
These bolts need to be secure, but not tight to the point where they are compressing the riser(s)
-
-
-
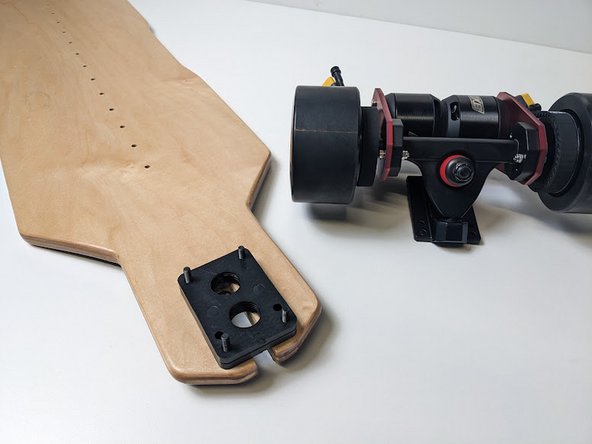
Repeat this process for the rear truck. Place bolts through the deck, then add your risers.
-
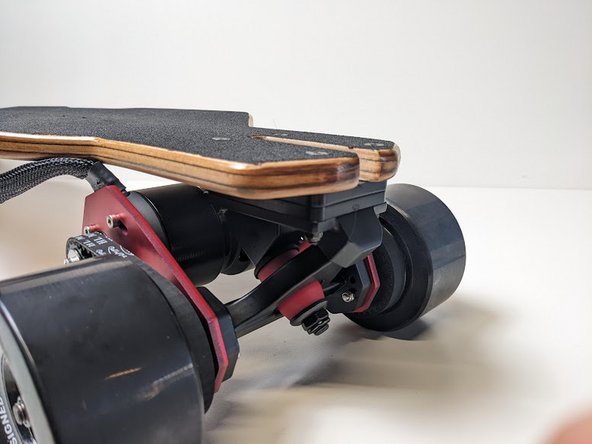
Add the truck with drivetrain with the motors underneath the deck, and the king pin facing the rear.
-
Secure all four bolts with a locknut and tighten.
-
Don't worry about the cables coming out the back of your deck, we will re-route them shortly!
-
-
-
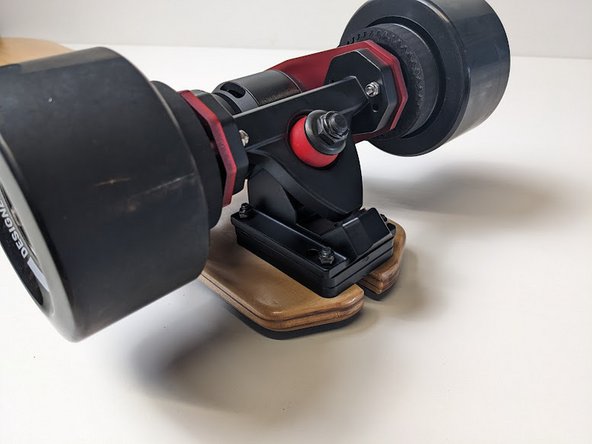
Now it's time to mount the RailCore Rail System! This will be your direct connection for your battery and ESC, it's important that these rail modules are level and in-line to work smoothly!
-
Gather your rail modules, rail hardware, and your allen wrench.
-
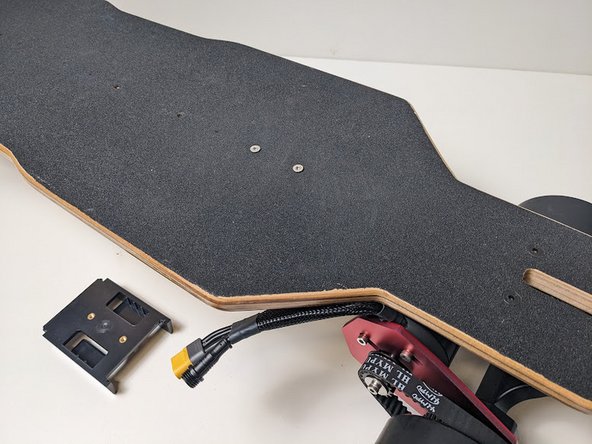
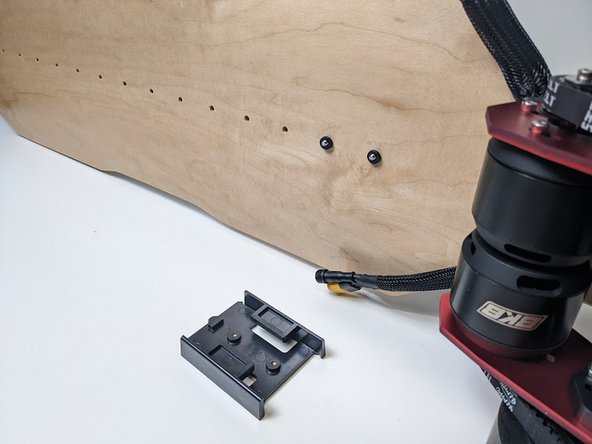
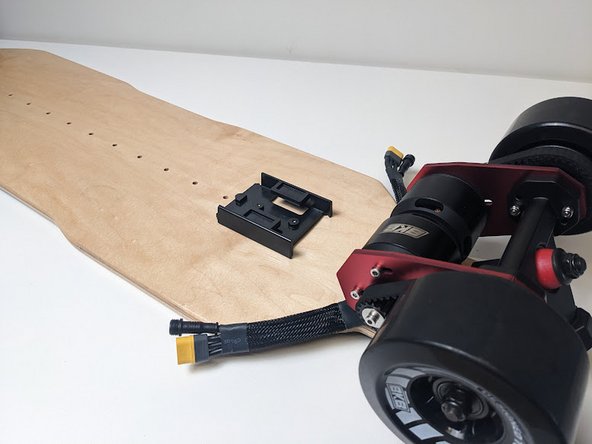
Place your bolts through the top of your deck in the center holes, closest to your motors.
-
Add a rubber washer onto the underside of the bolts.
-
-
-
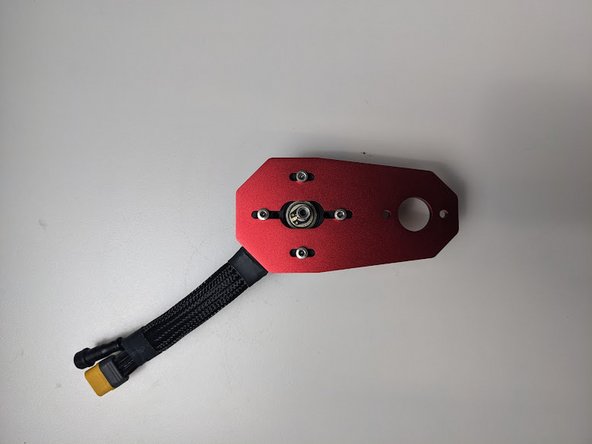
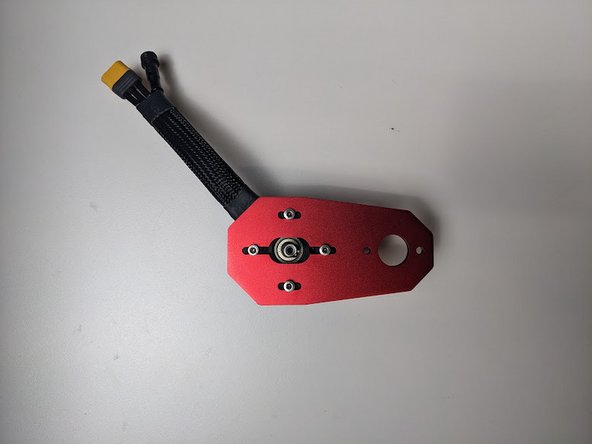
RAILS ARE DIRECTIONAL! RailCore wouldn't work without the rails being one-directional. You can tell the frontside by the cotter-pin center piece, shown by the blue circle.
-
Be sure the rails are facing the correct direction, with the front facing away from the motors.
-
Install the rail by tightening the screw through the top of the deck, into the rail's front and rear threaded insert.
-
You have now installed your ESC mounting rail! Now for your battery rails.
-
-
-
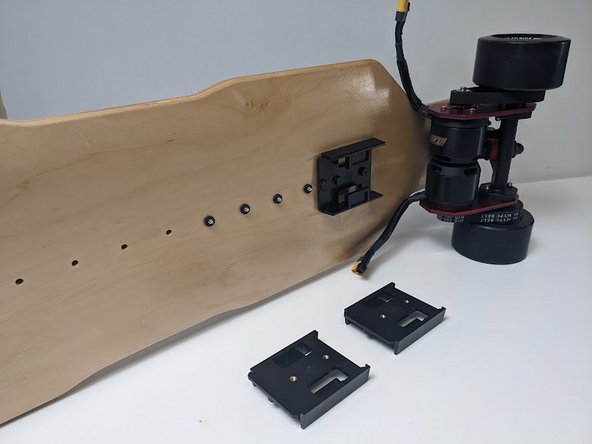
Each battery requires two rail modules to mount, all rails must be in series and facing the same direction.
-
The same process for the ESC rail applies here.
-
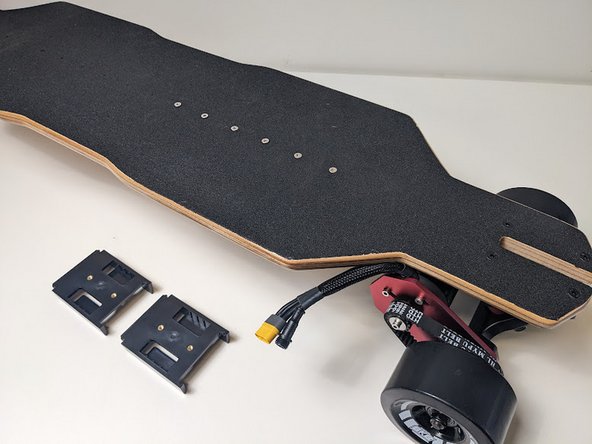
Add your bolts through the top of the deck, and add a rubber washer on the bottom.
-
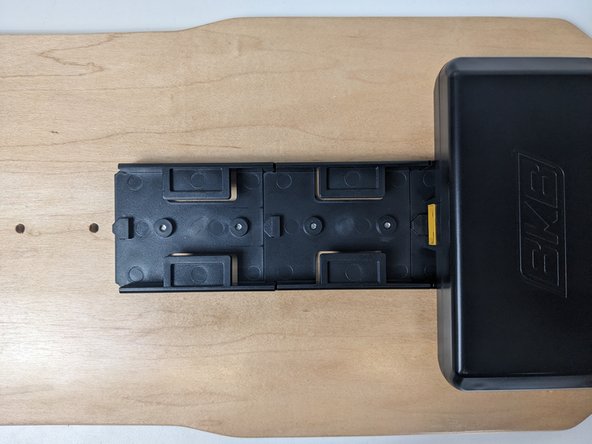
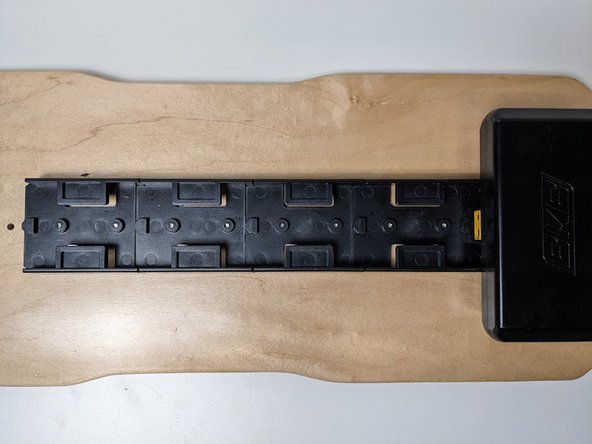
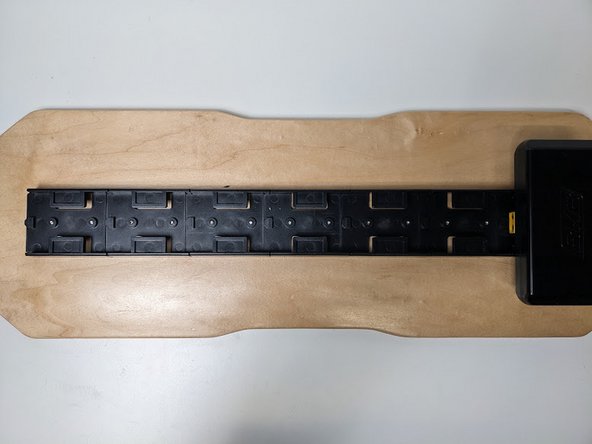
Install your rails, working your way towards the front of the board. One rail at a time is best for easy alignment.
-
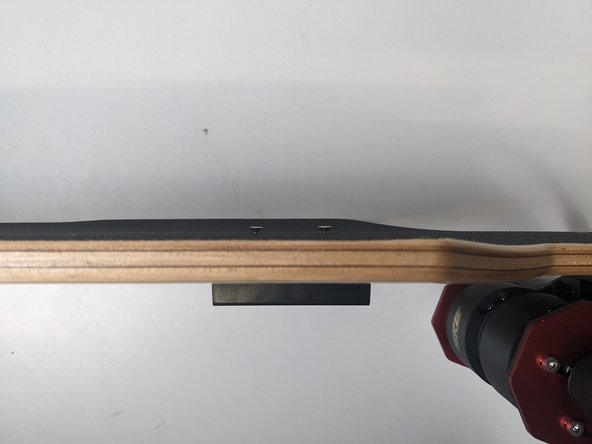
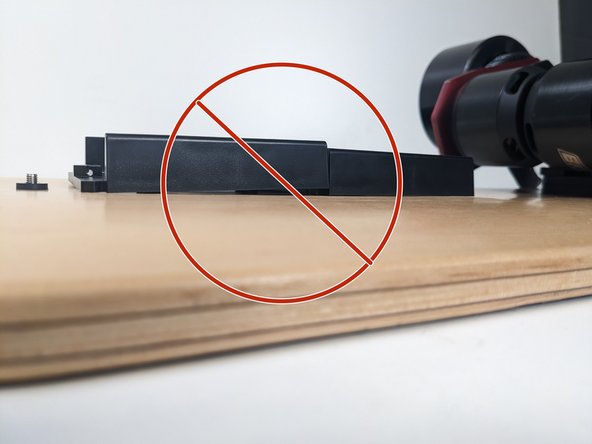
Make sure your rails are flush with your deck before moving on! Any misaligned rails will lead to complications during use. Picture #3 is wrong and should be tightened more on the rear-side.
-
-
-
Repeat these steps for the amount of batteries purchased
-
If you purchased more than 1 battery and do not plan on using them together, feel free to only install 2 additional rails behind the ESC.
-
-
-
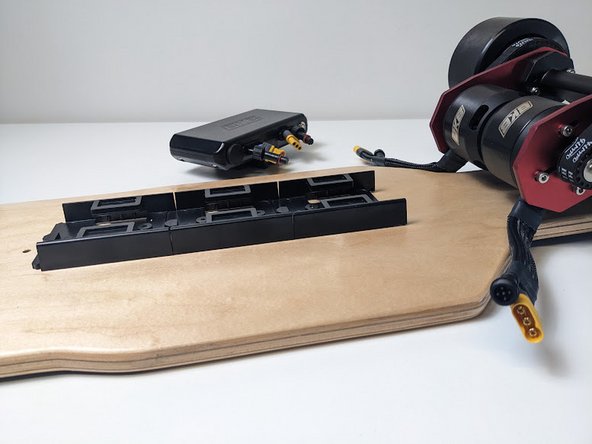
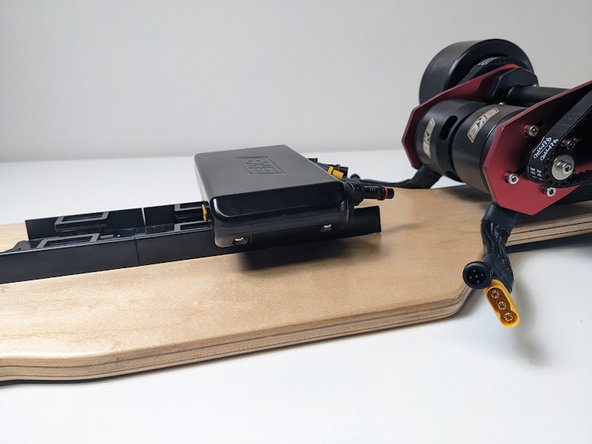
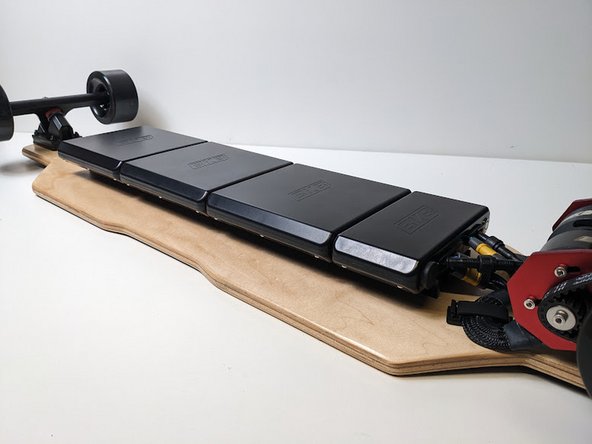
Install your board's ESC to the rail by sliding the ESC's bottom onto the rear-rail.
-
You'll experience some resistance when sliding into place. This is normal and designed as such to be as secure as possible.
-
When properly in-place, the ESC enclosure will align with the rail length-wise.
-
-
-
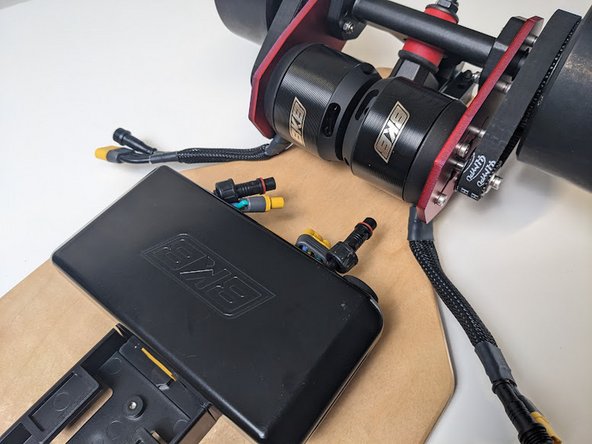
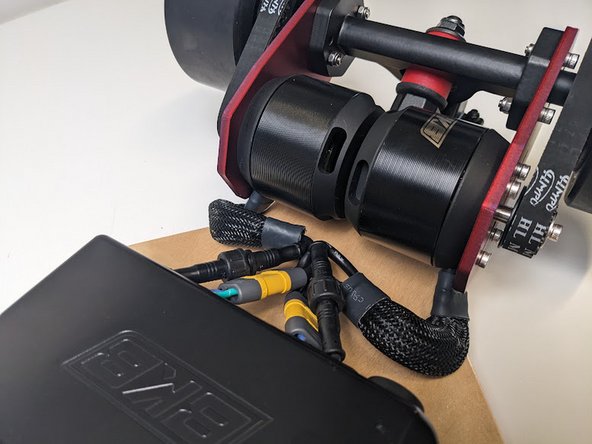
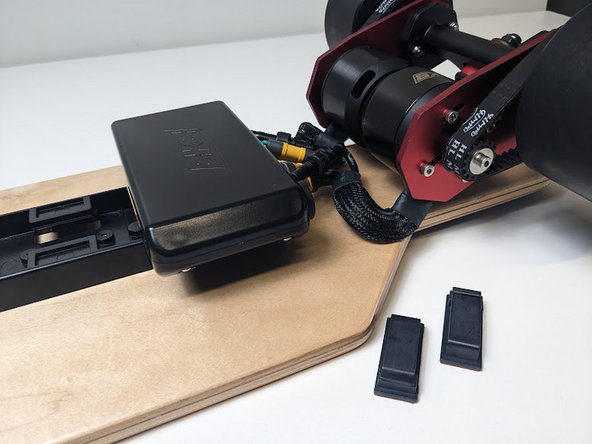
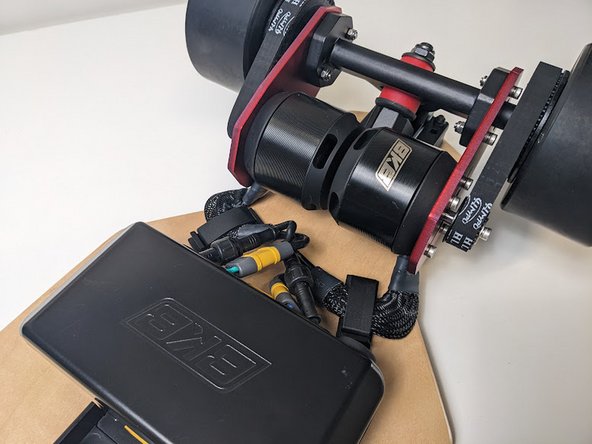
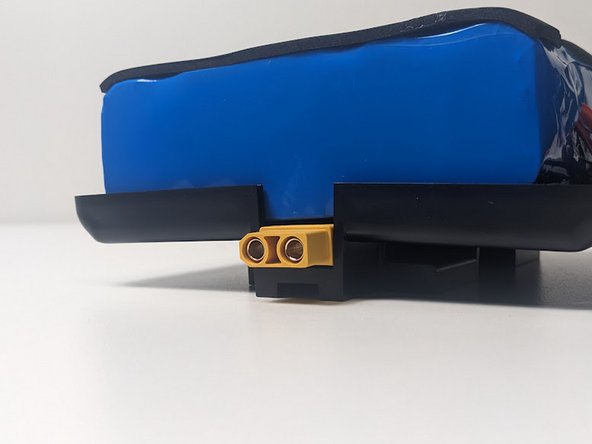
Connect your motor cables to the ESC.
-
The yellow (MR60) connectors simply push together and connect
-
DON'T FORCE ANYTHING! The black motor sensor cables have an internal notch, which allows them to only align one way.
-
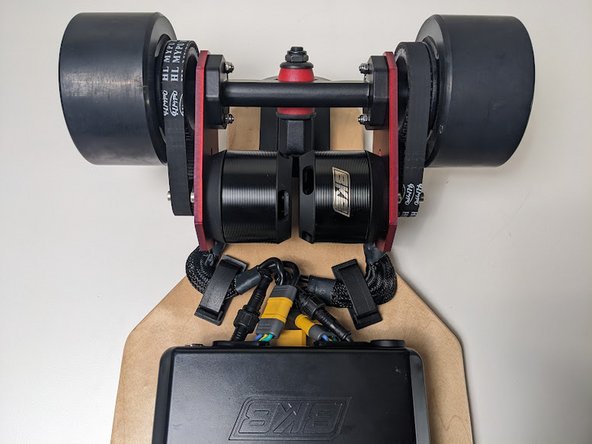
Make sure to have both motors going to their appropriate ESC cables. There shouldn't be any cables crossing between the center of the deck.
-
Grab your cable clips to secure them down.
-
-
-
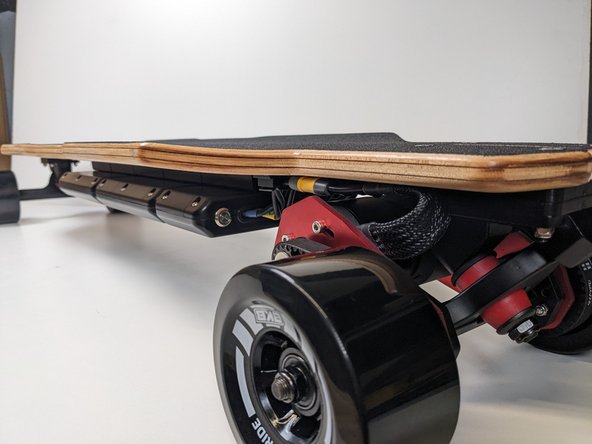
Mock up where you'll mount the cable clips, the goal is to have the cables as flush to the deck as possible.
-
Tuck the motor cables directly underneath the motor for the easiest route.
-
Test your cable route by putting pressure on either side of your rear-truck. Remember that your kingpins still need to be adjusted.
-
Once you've checked that the cables are not touching the motors anywhere, you can remove the adhesive backing and install the clips.
-
-
-
You're now officially done assembling your RailCore board!
-
Before you go off riding, there's a few tips, tricks, and best practices we'd like to share.
-
These guidelines are what we recommend as the best practices with our RailCore products (Duo & Tayto 3.0)
-
If you have any questions or believe we could improve our tutorial, please let us know! Send us an email at Support@buildkitboards.com
-
-
-
The loctite technically needs 24 hours to fully cure. I would wait at least 1-2 hours before riding so the enclosure bolts do not fall out. Ensure they did not come loose after your first ride.
-
While you are waiting for the loctite to cure, you can charge your battery!
-
Check out our next step for best charging practices!
-
-
-
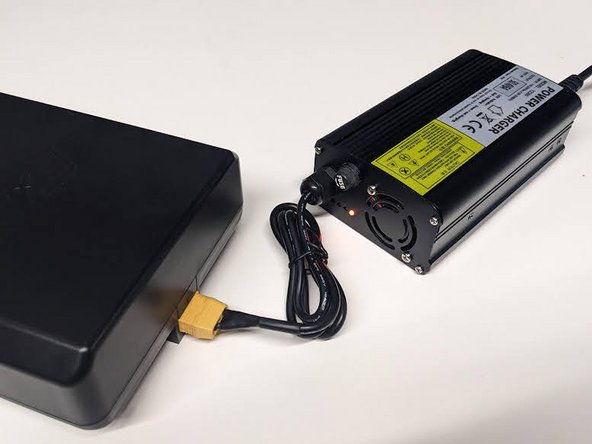
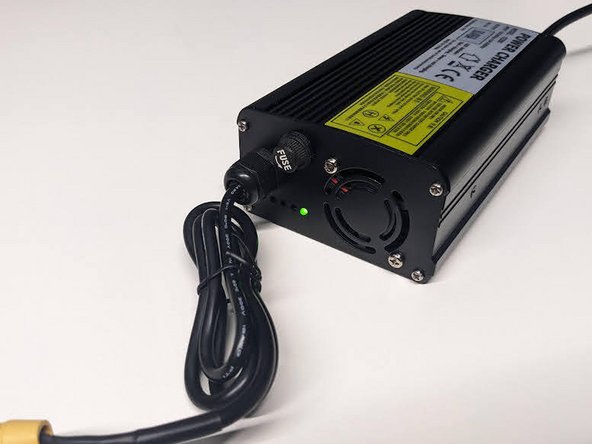
RailCore chargers are high-quality and easy to use, however that doesn't mean plug-in and forget. When the charger light is red, it is charging, it is at full when showing green.
-
Always use the charger provided by BKB. Using the wrong charger can damage the battery and increase fire risk. Always make sure the charge plug cover is installed correctly after charging is complete.
-
Charge your batteries in a well-ventilated area away from flammable materials and heat sources. Never leave it charging unattended, especially overnight.
-
Disconnect your battery from the charger once it's fully charged (charger shows green light). Overcharging can shorten the battery's lifespan and increase safety risks.
-
Invest in a battery bag or fireproof container for added safety during storage and transportation. Consider using a battery management system (BMS) that monitors the battery's health and prevents overcharging, over-discharging, and overheating.
-
-
-
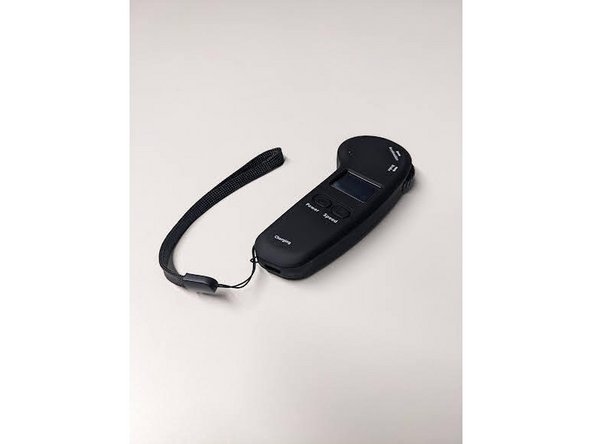
Turn the board on by either rolling the wheels or pressing the power button.
-
Press and hold the power button on the back of the ESC's case until it beeps, this activates pairing mode.
-
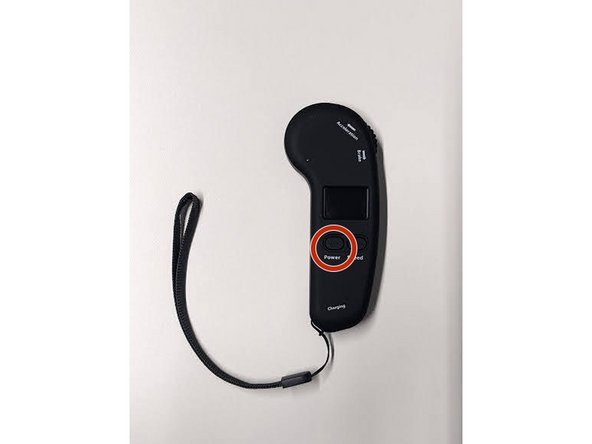
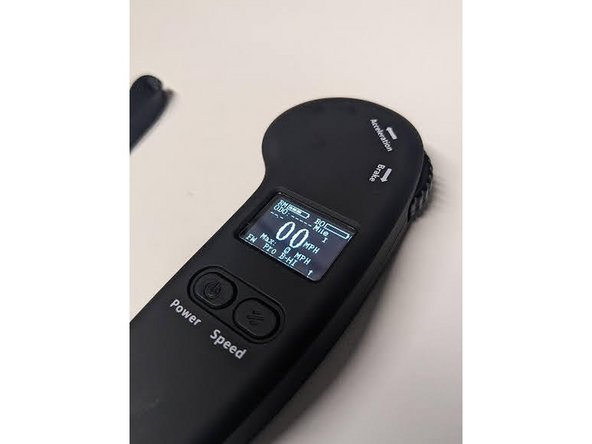
Turn on your remote by holding the power button.
-
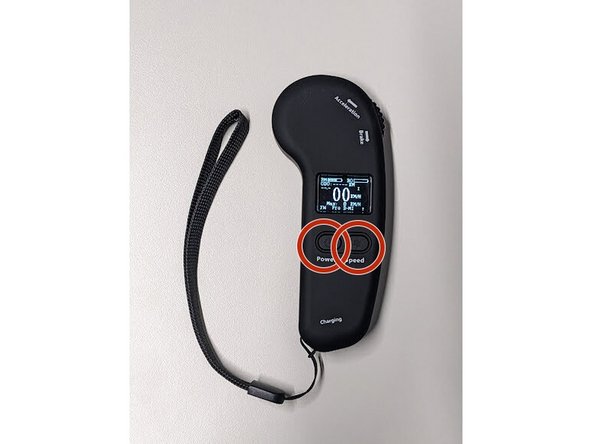
To pair, tap both the power and settings button together on the remote.
-
Once paired, the ESC light will blink along with the connection icon on the bottom right of the remote screen
-
-
-
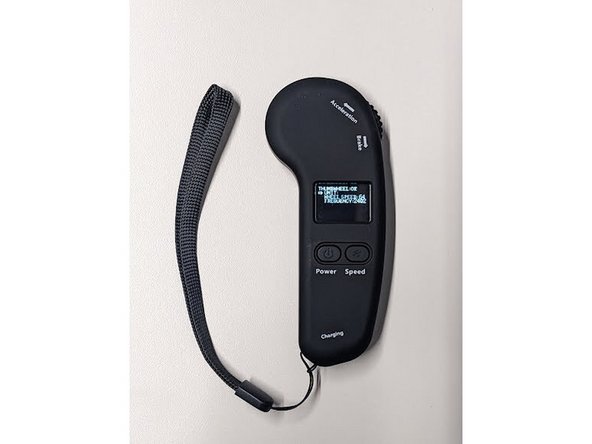
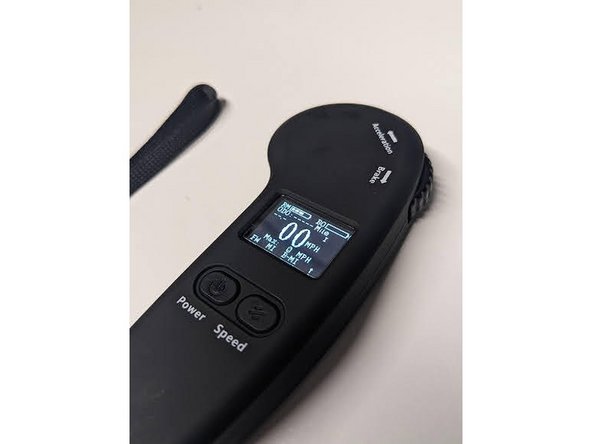
In order to adjust settings within your remote, you must start with your remote turned off.
-
By pressing and holding the power and settings button the remote will turn onto the settings menu.
-
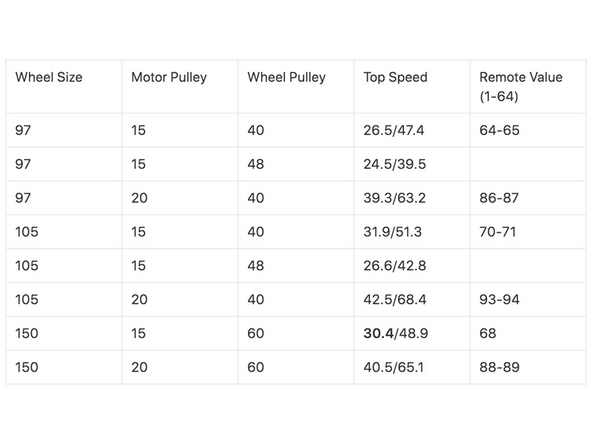
See the attached chart to properly calibrate wheel size and other information in order to properly track both speed and distance travelled.
-
Speeds display on chart are in the MPH/KPH order.
-
Here is also where you can switch between Imperial and Metric
-
-
-
Your BKB board has multiple different riding profiles and options you can change on the fly.
-
Take your time and be cautious when switching modes, especially when still becoming familiar with the board!
-
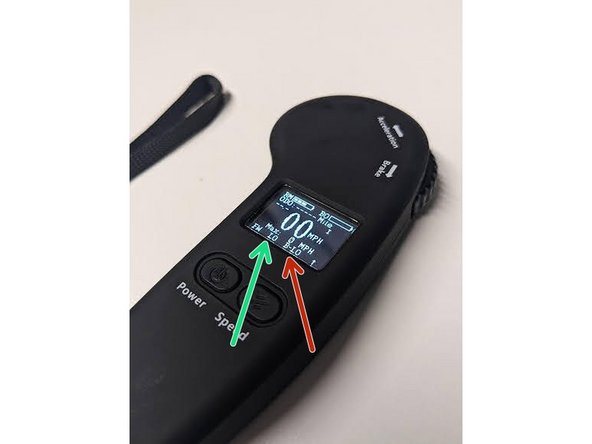
Acceleration: The board has 4 speeds: Low, Medium, High, and Pro. You can see the mode you're in on the bottom center on your remote screen.
-
Change speed modes by tapping the settings button to cycle through.
-
REVERSE! In order to enter reverse, simply tap the power button 3 times to enter reverse.
-
Braking: Your board also has different braking intensities: B-Low, B-Medium, B-High, and B-Pro. This is displayed to the right of your Acceleration mode.
-
Change braking modes by holding back the break and tapping the settings button to cycle through.
-
-
-
While RailCore's BMS is high quality and safe, there are some best practices to avoid any issues with your system.
-
Never mix an old and new battery together. If you want to use an old and new battery, use them 1 at a time.
-
When creating a battery chain, all of the batteries need to be at the same voltage. To determine the voltage plug 1 battery into the ESC and turn the board on. You can then see the voltage of the battery on the remote. Or, simply keep them together and charge them together!
-
Once the batteries are all connected together, you can charge the entire chain by plugging the charger into the last battery.
-
You will likely experience limited power when only using 1 battery as their capacity is limited. We recommend using 2 batteries at a time, as output on a single battery pack is slightly limited to maintain range. The more battery capacity, the more performance and range you will experience.
-
-
-
Never leave it charging unattended, especially for extended periods or overnight.
-
Don't charge your batteries in extreme heat or cold, as this can damage the battery. Ideally, aim for temperatures between 50°F and 80°F (10°C and 27°C).
-
When not in use, store your board and batteries in a cool, dry place away from direct sunlight and heat sources. Extreme temperatures can damage the battery.
-
Treat with care, Avoid physical damage: Don't drop, bump, or puncture your skateboard's battery. Physical damage can lead to internal short circuits and fire hazards.
-
Check for damage before riding: Before each ride, visually inspect your battery for any signs of damage, such as cracks, bulges, or leaks. If you notice anything unusual, stop using the skateboard and contact BKB.
-
Water can damage the battery and electronics of your skateboard. Avoid riding in wet conditions or puddles.
-
-
-
Here are some tips as to how to prolong battery cell life to keep your range and performance.
-
Avoid aggressive riding, overloading the board, or performing stunts that put excessive strain on the battery.
-
Aim to keep your battery between 20% and 80% for optimal health.
-
Avoid prolonged storage at 100%: If you know you won't be using your device for a while, unplug it at around 60%.
-
Don't sweat occasional full charges: A quick top-up before a trip won't hurt your battery in the long run.
-
-
-
ALWAYS WEAR A HELMET! THEY SAVE LIVES. DONT WEAR IT FOR YOU, WEAR IT FOR YOUR FRIENDS AND FAMILY.
-
Electric skateboarding is a very fun and rewarding sport. But, everyone has fallen off their board at some point. It's not a matter of if it will happen, but when it will happen. Please wear at least a helmet and always ride within your comfort zone
-
Treat the board with respect! It is a vehicle after all. Do NOT drop the board from a vertical position to set it down as it put a lot of stress on the enclosure. Give the board a good once over before every ride to make sure bolts are tight and things look normal.
-
Please consider leaving a review on our website and helping us spread the word on Facebook/Reddit/Instagram/etc.
-
We are a grassroots, enthusiast bred business and we do NOT do any paid marketing. We believe that our product's and our customers speak for themselves. Every little bit helps and is much appreciated.
-


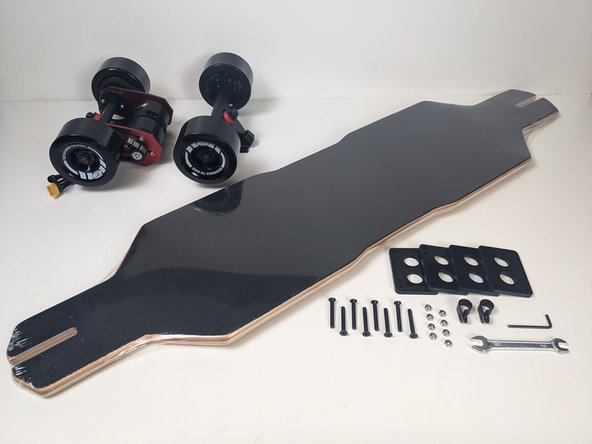


Use the parts list on the back of your info sheet to lay everything out and check!
Use the parts list on the back of your info sheet to lay everything out and check!
