Tools
Parts
-
-
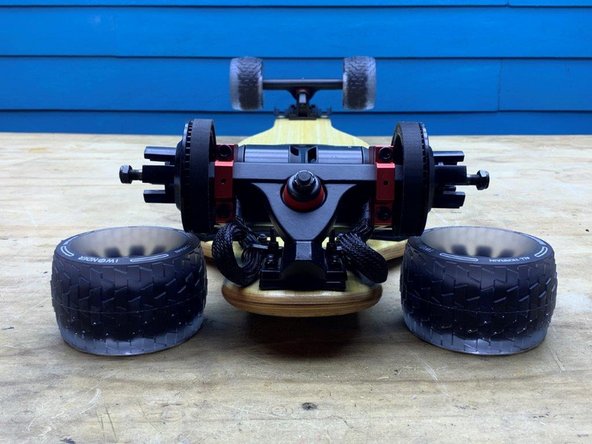
Why arent the wheels already installed? I bought a pre-assembled board!
-
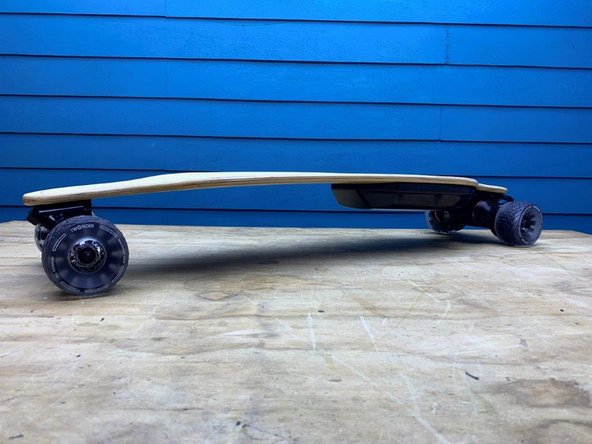
Because the Duo can use such a wide variety of wheels, and thus wheel sizes, the safest option for transport is to send the board with the wheels off. Good news though! Installing the wheels is quick and easy!
-
-
-
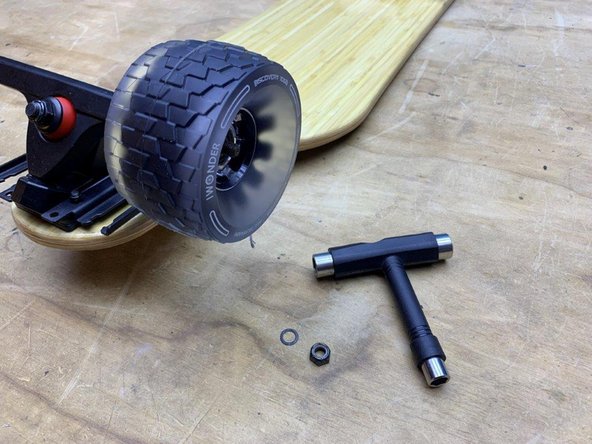
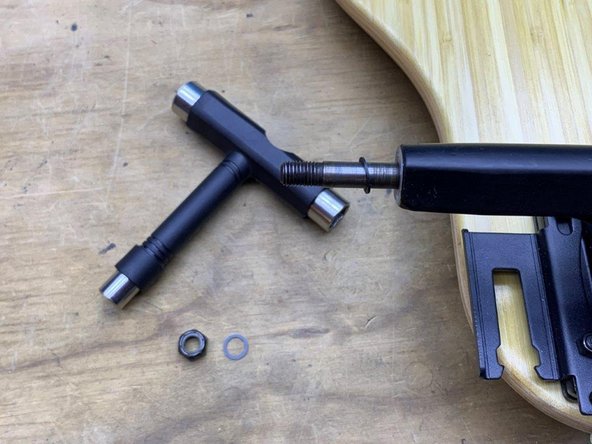
Slide one washer (that was removed earlier) back onto the truck
-
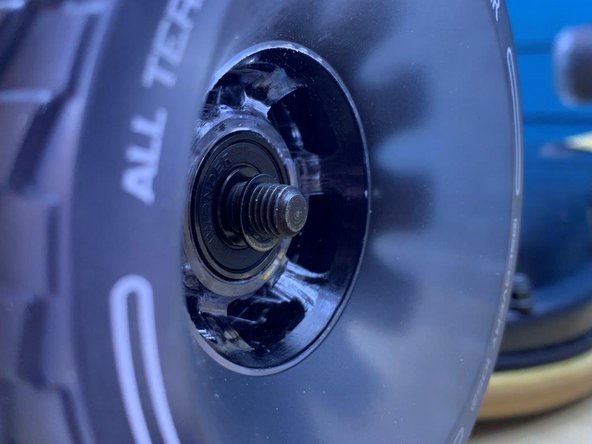
Secure the wheel with the locknut that was removed earlier using the T-Tool
-
Do NOT over tighten the locknut. You should be able to move the wheel laterally on the truck a very minute amount.
-
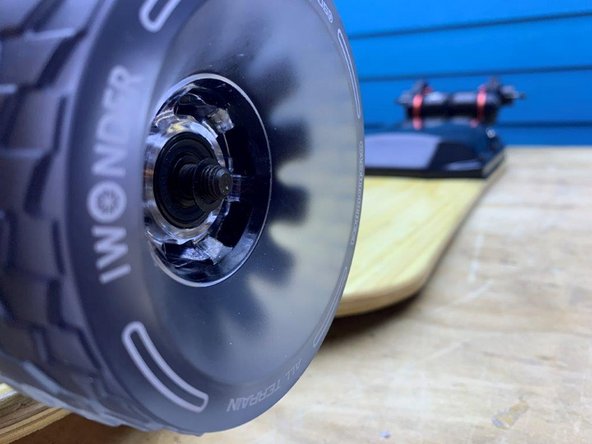
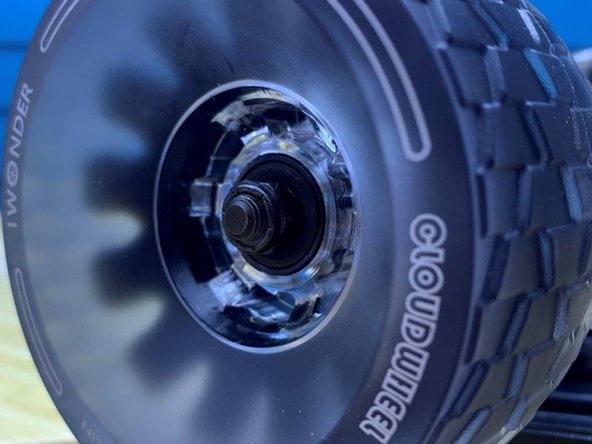
Spin the wheel with your hand, it should roll freely with minimal resistance.
-
The order of parts on the truck should be as follows: washer, wheel, washer, locknut
-
-
-
Repeat the same process on the other side of the truck.
-
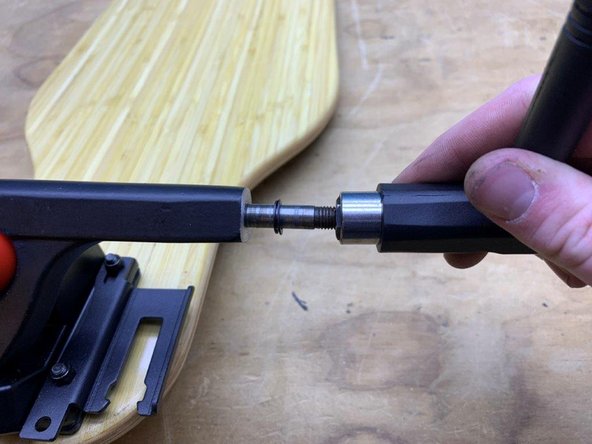
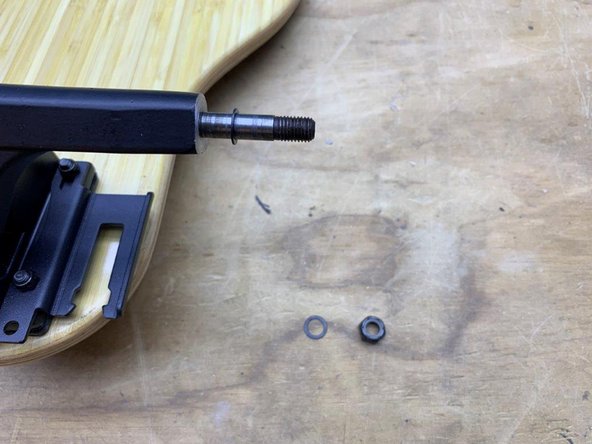
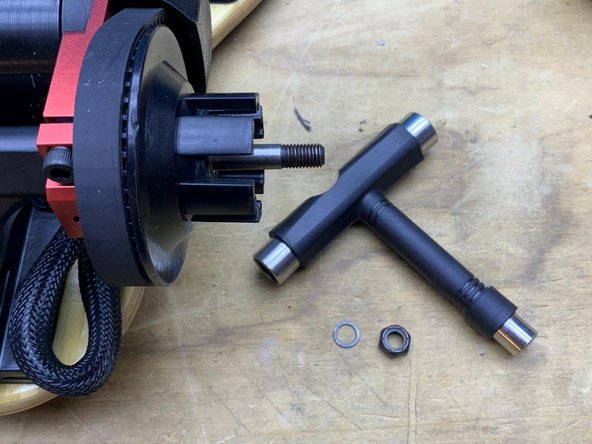
Remove one washer and one locknut with the T-Tool
-
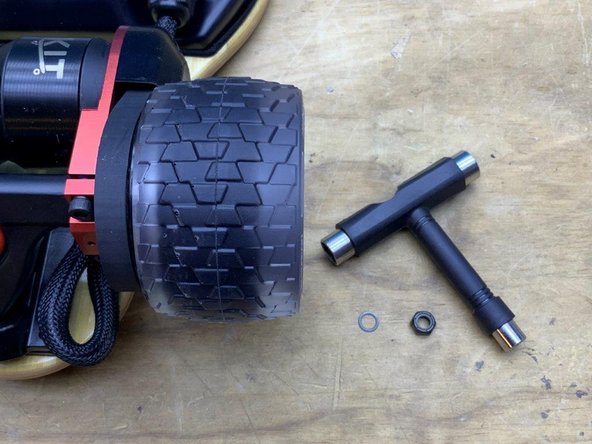
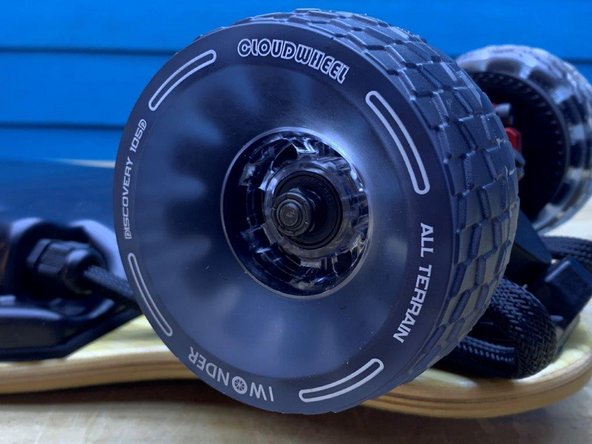
Slide the other wheel on with the white words facing outward
-
Secure the wheel with one washer and locknut
-
Do NOT over tighten the locknut, it should be able to spin freely with minimal resistance
-
-
-
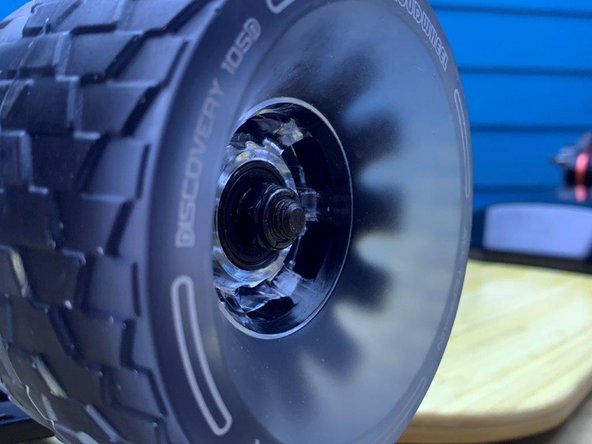
Slide the wheel onto the truck with the white letters facing outward
-
Secure the wheel by adding one washer and locknut
-
Again, do NOT over tighten the locknut
-
Repeat the process for the other side of the truck
-
The order of parts on the back truck should be as follows: washer, wheel pulley (with belt), wheel, washer, locknut
-
-
-
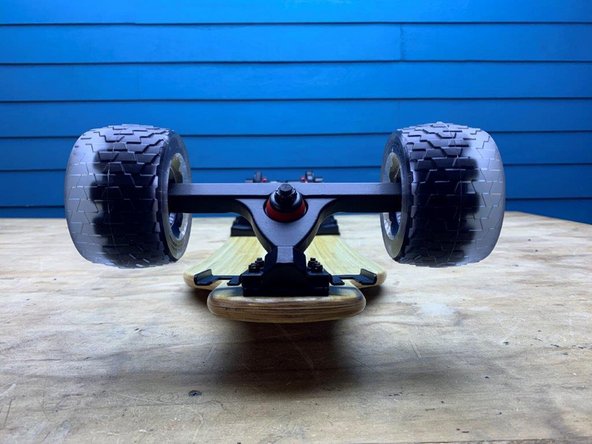
Your all set! Time to ride!
-
ALWAYS WEAR A HELMET!
-
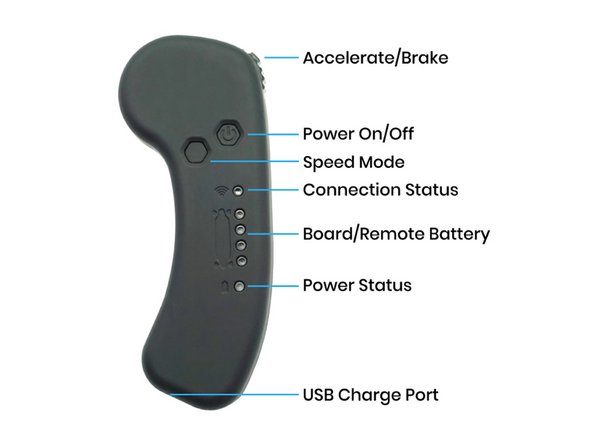
Consider riding in the Green speed mode until you become comfortable with the board! It may have more torque than you are used to, ride within your limits and obey local traffic laws.
-
Lowest Acceleration
-
Medium Acceleration
-
100% Acceleration
-
Please note that the different modes do not change the overall top speed, they just limit the acceleration significantly.
-