-
-
-
Use a spare piece of cardboard and place ~ half of Part A onto the cardboard
-
Place an equal amount (1:1) of Part B on the cardboard
-
Mix the two thoroughly for 30 seconds
-
-
-
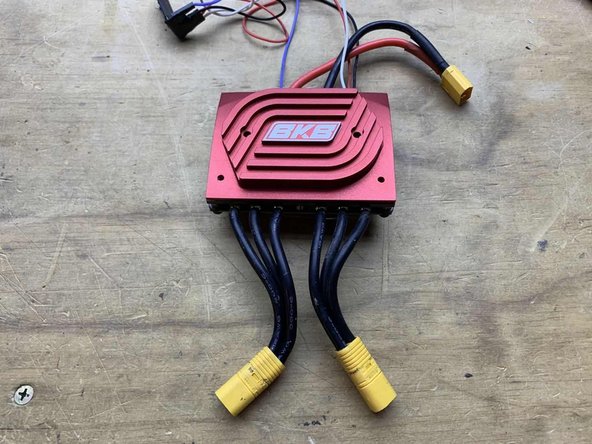
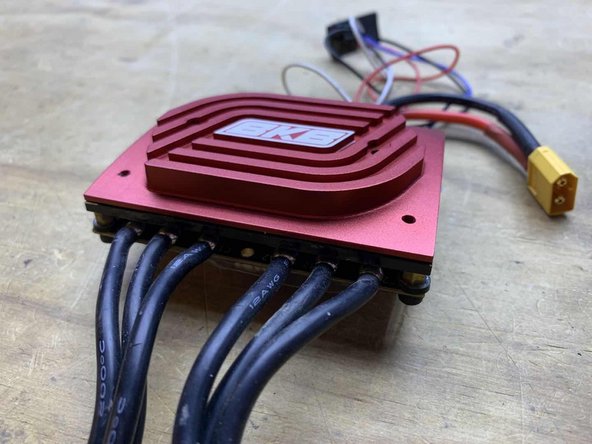
Place the external heatsink on the ESC with the two threaded holes facing downwards towards the motor wires
-
Press firmly down on the four ESC bolts for 30 seconds (do not press on the ESC components)
-
Flip the heatsink over and realign the edges
-
-
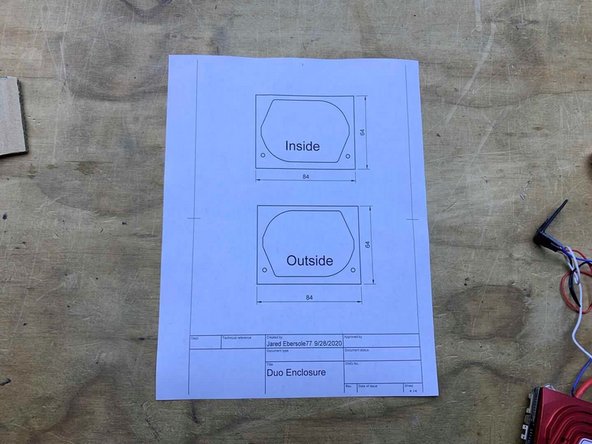
Print the cutting guide attached at the bottom of the guide
-
When printing make sure to select ACTUAL SIZE
-
Cut out the shape you think would be easiest to use. There is one for the inside and outside of the enclosure
-
-
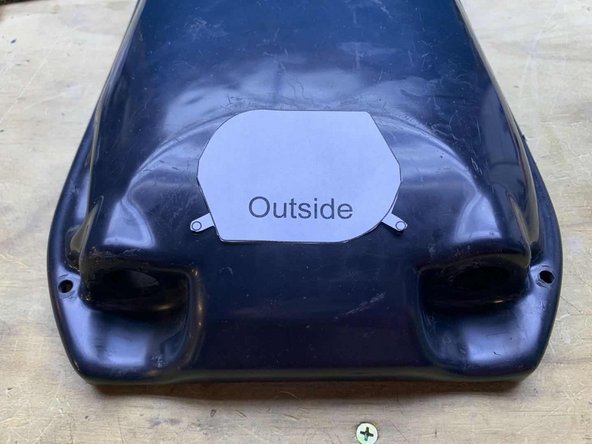
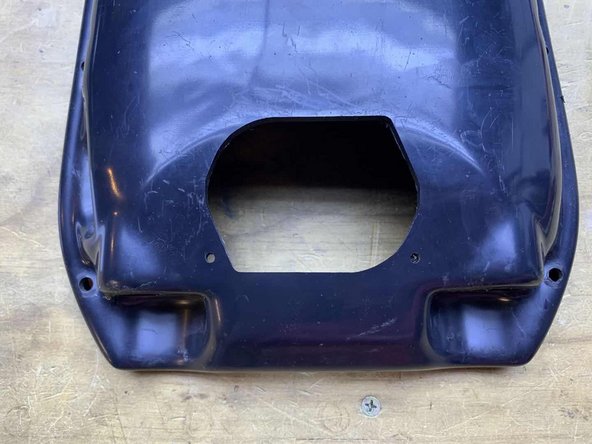
Align the cutout to the enclosure. The flat area at the top should be ~2mm from the curved line in the enclosure
-
Cut the shape and two holes using your preferred method (Dremel, etc)
-
-
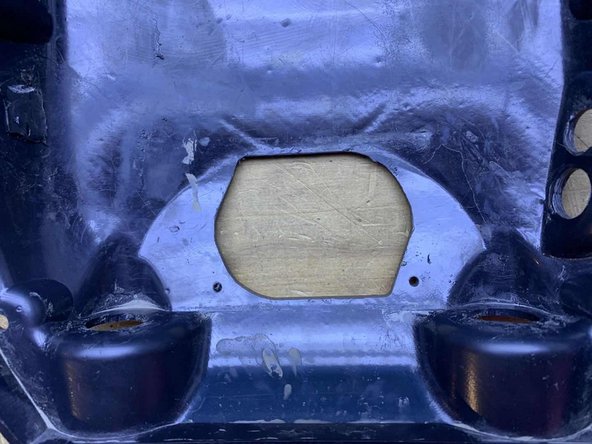
Make sure the adhesive is fully cured (12-24 hours) before securing it to the enclosure
-
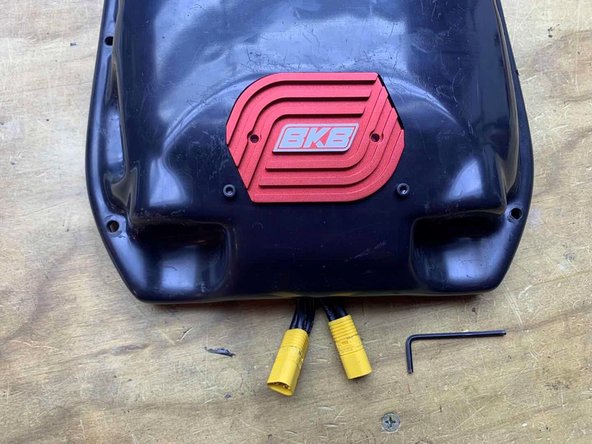
Place the heatsink and ESC in the enclosure
-
Secure with two M3x8 Bolts
Embed this guide
Choose a size and copy the code below to embed this guide as a small widget on your site / forum.
Preview